Spring is in the air and there have now been at least two occasions where I have managed to find a sunny spot in the garden out of the wind, and for about a minute pretend summer has arrived early.
So now is the time to start getting to grips with the garden as there is much to be done out there. Just think, a bit of hard work now will make that first BBQ of the New Year all the more satisfying. Just picture yourself sitting back with a cool pina colada in your hand and proudly admiring the fruits of your labour! 🙂
Chilli Plant Update
You will remember that last month I had started a “highly scientific” growing media trial on my kitchen window sill. I started comparing chilli plant seeds grown in our Field No.7 seed compost against the same seeds grown in peat based compost that came with a chilli plant growing kit. The final results showed the germination rate to be similar overall, although other factors, not least the quality of the seeds will certainly have had an influence. The plants in the Field No.7 certainly look more advanced and are demonstrating a bit more vigour both in terms of top growth and rooting.
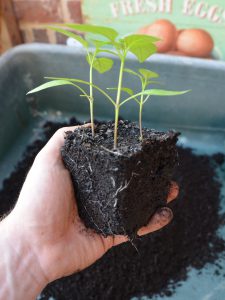
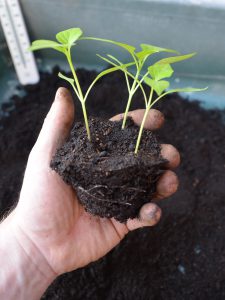
The time has now arrived to pot these plants on into an environment that will allow them to stretch their rapidly growing legs more freely. As such all the plants have now got new homes in our Field No.3 peat free multipurpose potting compost.
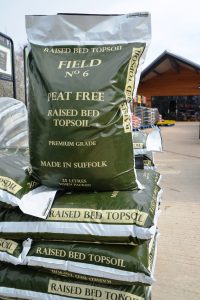
Field 3 multipurpose potting compost is as the name suggests a highly versatile product that is ideal for potting on plants of all species.
- For best results make sure the plant has been well watered and left to drain before re-potting.
- Choose a pot at least 4cm larger than the existing one. Fill the new container up just below the level of the existing plant root system, then carefully place the plant on top leaving about 1 cm below the pot rim.
- Fill and gently firm the void space around the roots with Field 3, then feed and water according to the plants requirement.
- Remember to keep Field 3 moist at all times – do not let it dry out and equally do not overwater!
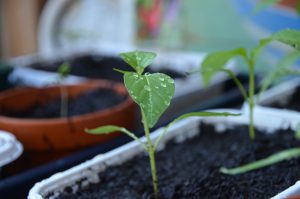
Make your neighbours “green” with envy…
If you are lucky enough to have a lawn in your garden you will notice that the grass is now growing again. So without stating the obvious it’s time to get the lawn mower out for its first few laps of the 2015 season. A bit of basic maintenance is always important before you get going, so check the blades are sharp, there’s oil in the engine, or if it’s electric the cord hasn’t been damaged by mice whilst sitting in the shed over winter.

Once you have treated the lawn to its first trim of the year it’s time to get a bit more technical:
Field No.4 lawn dressing is a high quality finely graded soil improver manufactured specifically for both domestic and sports turf applications.
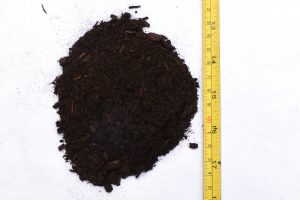
- Calculate the area of your lawn and order sufficient Field No.4 lawn dressing to cover an average depth of 8mm. If you aren’t sure how much you need give Field Compost a call with the dimensions of the lawn and one of the friendly staff will do the calculations for you.
- Use a spring rake to remove any moss and thatch.
- Aerate your lawn using a fork or hollow tine to make holes of approximately 100mm (4inches) in depth.
- Using a stiff broom evenly brush in a thin layer of Field No.4 to a depth of about 8mm (1/3 inch) over the entire surface of the lawn.
- Select a suitable lawn seed to match your lawn and the type of application. Field Compost supplies a comprehensive range of Barenbrug lawn seed and we will be happy to recommend a product that best suits your needs.
- Evenly sow the grass seed as per the instructions on the box.
- Whilst waiting for the seed to germinate (Normally 2-3 weeks) keep mowing to a minimum and elevate the cutting height of your mower to avoid removing the Field No.1 from the base of the sward.
Watch this space for news of Field Compost’s Spring Lawn Care Bundle Offer coming soon!
